Monday, 29 January 2024
Sunday, 28 January 2024
Deck pieces cut, cockpit pieces cut, hard dodger v1.05
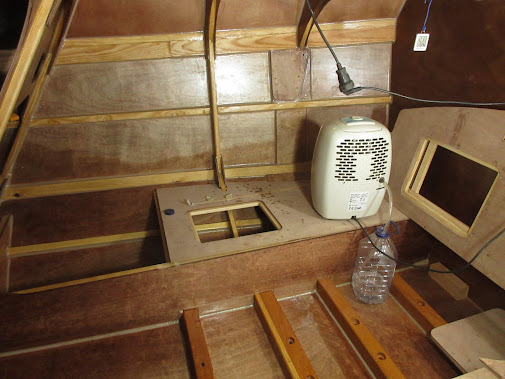
The interior is almost complete, the bunks need to be glued in and the watertight hatches need to be coated
There was a break in the rain, so a lot of parts were cut out, and are now ready for epoxy coating. The deck panels , bow panels and parts for the cockpit were cut out - those of you who know the design will see a modification to the cockpit, it is to create a smaller cockpit, increase the volume of foam floatation but most importantly it will make use of the dead area under the tiller, on my previous boat my liferaft was stored under the tiller. I have run drawings of this modification past the designer and he said that the modification is within the changes allowed within the rules of the Setka Atlantic Challenge. FYI the cockpit will still have the same amount/size of drainage.

there will not be any "verandah" overhang at the aft edge of the deck
it will be cut flush with the companionway bulkhead
and below you can see my rough mock up design for the hard dodger , for my last boat I built a really nice hard dodger and for me it is now the most essential thing on a boat
Thursday, 25 January 2024
Aft compartment under Cockpit glassed
the aft compartment was glassed using one complete layer of glass on the bottom and up the sides, then another wide tape was glassed along the filletted edges of the two added transverse panels, and then 12 layers were added in differing dimensions and configarations to the aft edge and bottom of the compartment.
Wednesday, 24 January 2024
Floor at companionway prepped and glassed and peelply-ed
Instead of having a plywood floor as you enter the boat, I have added some glass to the inside of the hull as you step through the companionway - it will give a tiny bit more headroom at the entrance, add less weight I think, and will strengthen the hull and add abrasionresistance- the area under the companionway will get the same treatment as well as the area further aft - which will also strengthen those areas and also add abrasion resistance to anything getting dragged out of the stowage space under the cockpit - BTW the outside bottom of the hull has had an extra layer of glass as well - as It made more sense to add glass rather than a thickish layer of fairing epoxy to fair and fill the hull bottom.
sanded and prepped
I glassed the part under the cockpit sole as well.
and a few pics showing the rest of the hull final coated
Tuesday, 16 January 2024
Sunday, 7 January 2024
Wednesday, 3 January 2024
Epoxy coating of interior starts
in addition to its protective property this is a penetrative coating
- plus and now this is a big help in deciding what gets painted and what gets varnished as some of the ply panels are quite boring - what I am pleased with and is nice is that the structural mix fillets tone in well with the wood.
This IMHO is one of the most beautiful epoxy boats - a pacific proa, "Jzerro" by Russel Brown
This IMHO is one of the most beautiful epoxy boats - a pacific proa, "Jzerro" by Russel Brown
.jpg)
He also wrote an excellent book called Epoxy Basics
available to buy from the link below
http://ptwatercraft.com/ptwatercraft/E-Books.html
Subscribe to:
Comments (Atom)
Twin Mainsheet - Companionway washboard Portlight Here is the twin mainsheet installed - I have used this on my previous boats and it work...

-
Chainplates complete The chainplates were the most complicated of the stainless items, the rest will progress quicker as they are way simpl...
-
What is the holdup? - Why no sea trials? Well, for all those following, here is the update - Everything was set for leaving, sails bent on, ...


